I was looking at my drying clay turtle this morning and decided that his head looked wrong. It has no shape. I figured that it would be easy to fix. Just add a little blob to it's head and shape it. Well, it would seem that wet clay does not stick to dry clay. I had a very difficult time doing this! I have a feeling that when it is dry, my new addition will slip right off. I'll just have to wait and see. It certainly is a learning process.
Here is the shapeless head
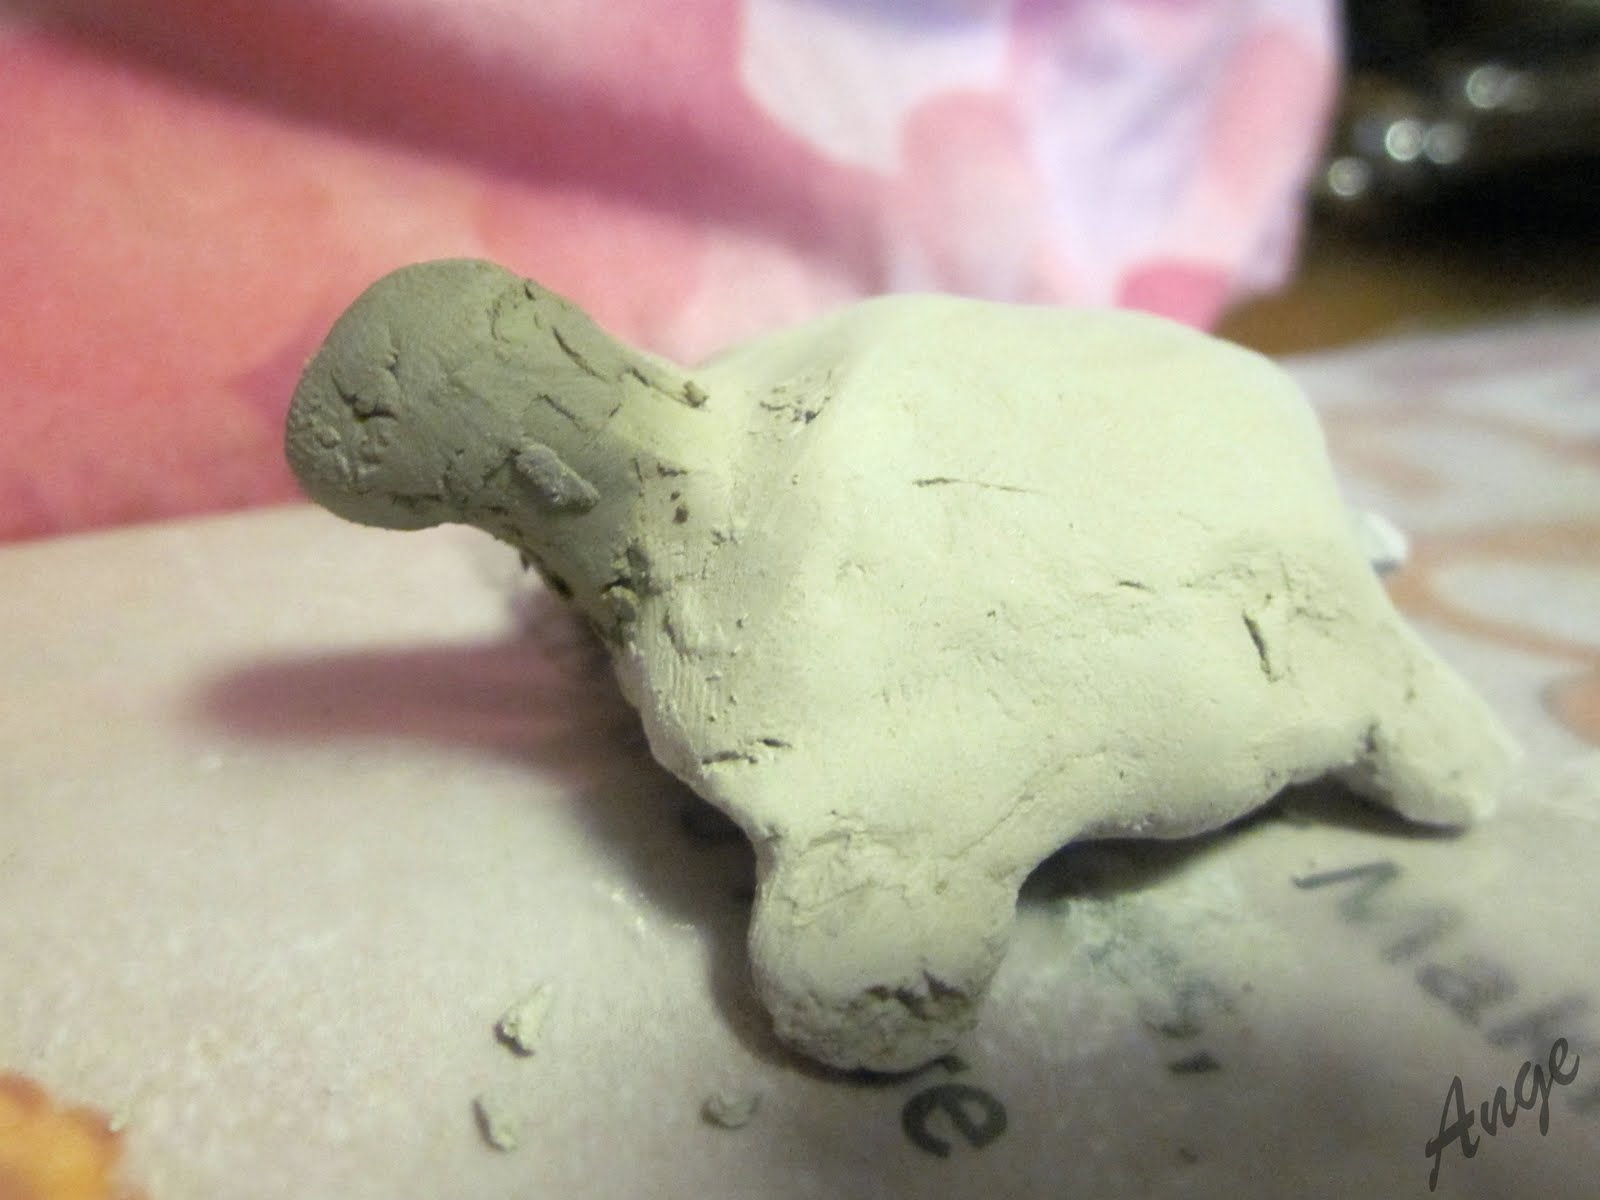
And here is my repaired turtle. I hope it will stay together.
I am going to leave this little guy alone for the weekend and get back to it on Monday. By then it should be totally dry and ready for me to try painting it.
Pin It


ha ha I didn't even notice he was headless yesterday! looks much better now. lol
ReplyDeletewhat kind of clay are you using? If it is an air dry clay sometimes you can use a bit of tacky glue before you add the wet clay and the new clay will stick well. He's so cute!
ReplyDeleteThanks Mandy. :)
ReplyDeleteKim, it is some kind of really cheap air dry modelling clay that I picked up at a dollar store. I am NOT touching it, but so far it looks attached. If it doesn't work, I'll try your suggestion. Thanks! I never would have thought to use glue.
some air-drying clays are pretty forgiving... you can even sand them as well as drill holes through the material once dry. (or maybe I am thinking of sculpey and fimo once they have had a little bake in the oven)
ReplyDeleteI have a feeling that this stuff will shatter on impact if I was to try drilling it. That or disintegrate. We'll never know though because I have no intention of drilling a hole in my turtle!
ReplyDeleteI haven't touched it, but just looking at it, it looks like it may work. *knock on wood*
I enjoy the help. Thanks!